Before You Bid: 3 Seam Heights and 5 Contractor Checks
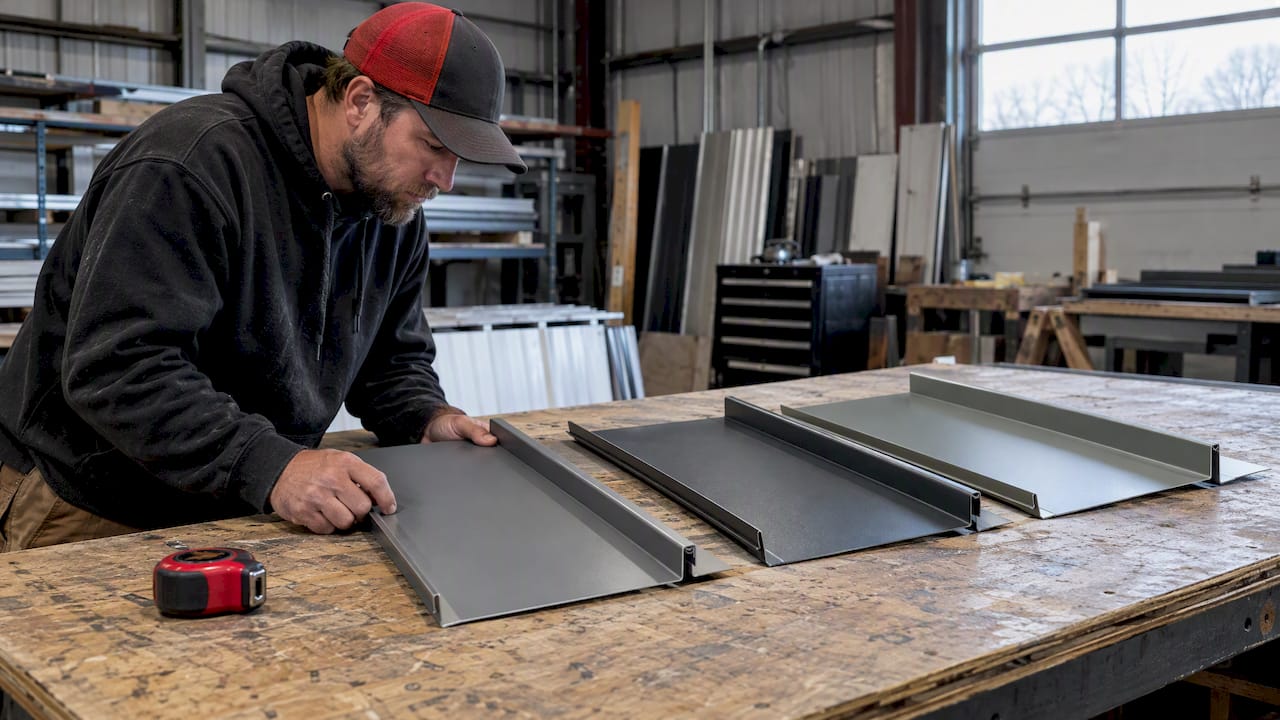
Translate 1, 1.5, and 2 inch seam choices into the exact seamer, clip, and assembly checks contractors must confirm. Request test reports and ask about...
Standing-seam roofing comes in three common seam heights: 1-inch, 1.5-inch, and 2-inch (roughly 25mm, 38mm, and 50mm). None of these numbers tells you how the roof will perform. Seam height only means something once you pair it with seam type, clip design, panel gauge, and a tested assembly. The sections below break down each option and the checks that keep your specification defensible.
TL;DR:
- Always verify the tested assembly report, clip specifications, and seamer calibration before ordering panels to prevent installation rework.
- Mechanical seamed systems with taller profiles are better suited for low-slope, high-wind, or heavy snow conditions, but testing remains the ultimate performance measure.
- Narrower panels (12-16 inches) are better matched with 1 to 1.5-inch seams for traditional aesthetics, while wider panels (18-24 inches) pair with taller seams for a bold look.
- Snap-lock panels install faster using hand tools but limit performance, whereas mechanically seamed options require powered equipment for optimal weather and load resistance.
- Proper planning with manufacturer documentation ensures correct seam height, clip type, and spacing, reducing field adjustments and costly rework.
Table of Contents
- Common seam heights and what each option means in practice
- How seam height fits into weather-performance and testing
- Installation implications: seam type, clips, seamer equipment, and thermal movement
- Aesthetic and building-type guidance: matching seam height to design context
- Choosing a seam height for common job conditions
- Contractor technical checklist: specs and questions to confirm with the manufacturer
- A practitioner’s perspective on seam height specification
- How we help you get the right seam height installed right
- FAQ
- Sources
Common seam heights and what each option means in practice
A 1-inch seam is the most compact profile contractors specify, typically formed as a mechanical lock panel in 22, 24, or 26 gauge steel, with panel widths running 13, 17, or 21 inches. It reads as a tight, traditional rib and works well where a subtle line matters more than a bold shadow.
A 1.5-inch seam (about 38mm) splits the difference. It is available as both snap-lock and mechanically seamed, giving it a slightly larger visual presence while still fitting residential and light commercial work. This height shows up often on mid-size commercial buildings and custom homes where the owner wants a defined seam without an industrial look.
A 2-inch (roughly 50mm) or taller seam gets specified when the project calls for a stronger architectural statement or when the roof faces demanding conditions, low slope, heavy snow, or high wind, where a taller lock geometry supports extra engagement and sealant capacity.
Panel width changes how any of these heights reads on the roof. Narrow panels with frequent seams emphasize the rib pattern; wider panels space seams farther apart and let the field metal dominate. A few things to keep straight when reviewing submittals:
- 1-inch seams: mechanical lock, 22/24/26 gauge, common widths of 13", 17", 21".
- 1.5-inch seams: available in snap-lock or mechanical, suited to residential and light commercial.
- 2-inch and taller: typically mechanical, specified for architectural emphasis or severe exposure.
- Wider panels make any seam height look less prominent; narrower panels make the same seam read bolder.
How seam height fits into weather-performance and testing
Seam height is a visual and dimensional spec, not a performance rating. Wind uplift and water-tightness come from the full assembly, the seam geometry, the clip, the gauge, the fastening pattern, tested together under ASTM E1592, UL 580/1897, or FM standards. A 2-inch seam with the wrong clip spacing can underperform a properly engineered 1-inch system.
Two factors inside the seam itself matter more than its height: whether it closes to 90 degrees or 180 degrees, and whether it is mechanically seamed or snap-locked. Mechanically seamed systems typically offer superior weather-tightness for low-slope and extreme-weather projects, while snap-lock trades some of that margin for faster installation. Clip spacing, seam reinforcement, and external clamps can all shift the uplift capacity of an otherwise identical seam height.
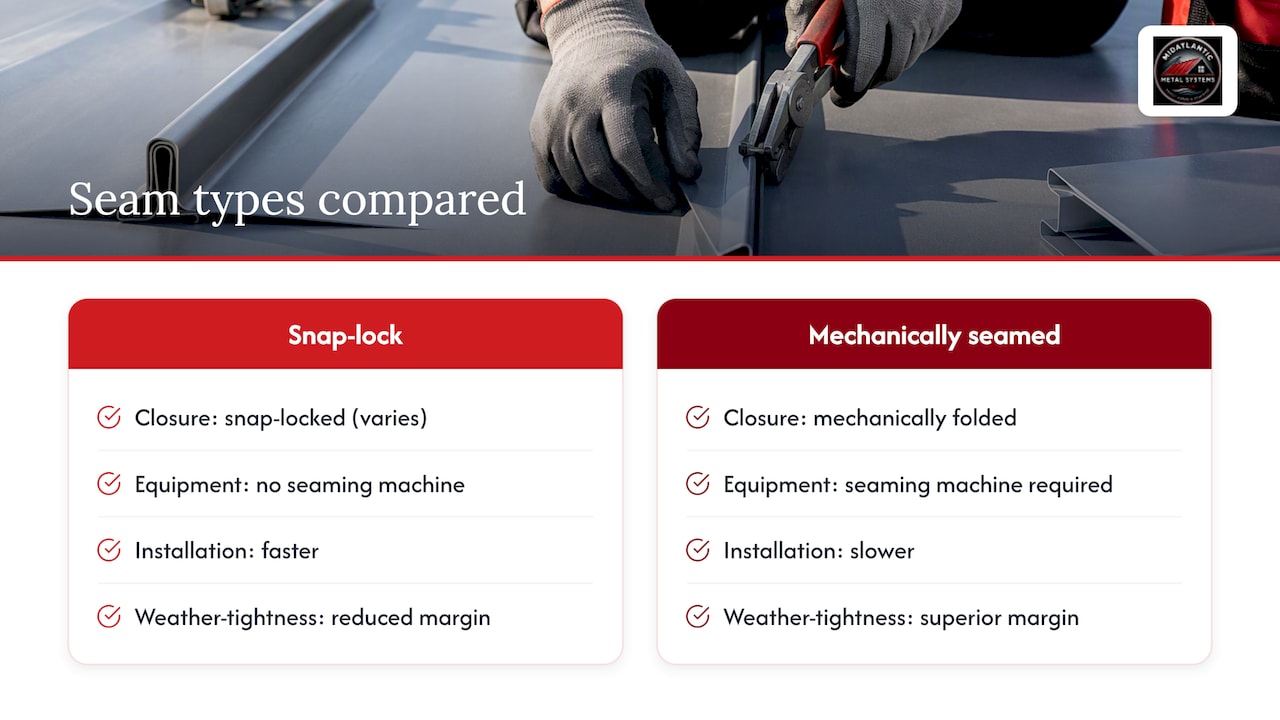
The seam height on a shop drawing tells you almost nothing about wind performance on its own. Testing applies to the full panel, clip, gauge, and attachment pattern as a single assembly, so request the actual test report that matches your exact combination before you finalize a bid.
Installation implications: seam type, clips, seamer equipment, and thermal movement
Snap-lock panels install with a hand tool or simple foot pressure and no powered seamer, which speeds up labor but limits performance ceiling. Mechanically seamed panels require a calibrated powered seamer, and that seamer must match the specific panel profile and gauge; running the wrong tooling produces seams that look closed but lack the engagement the design relies on.
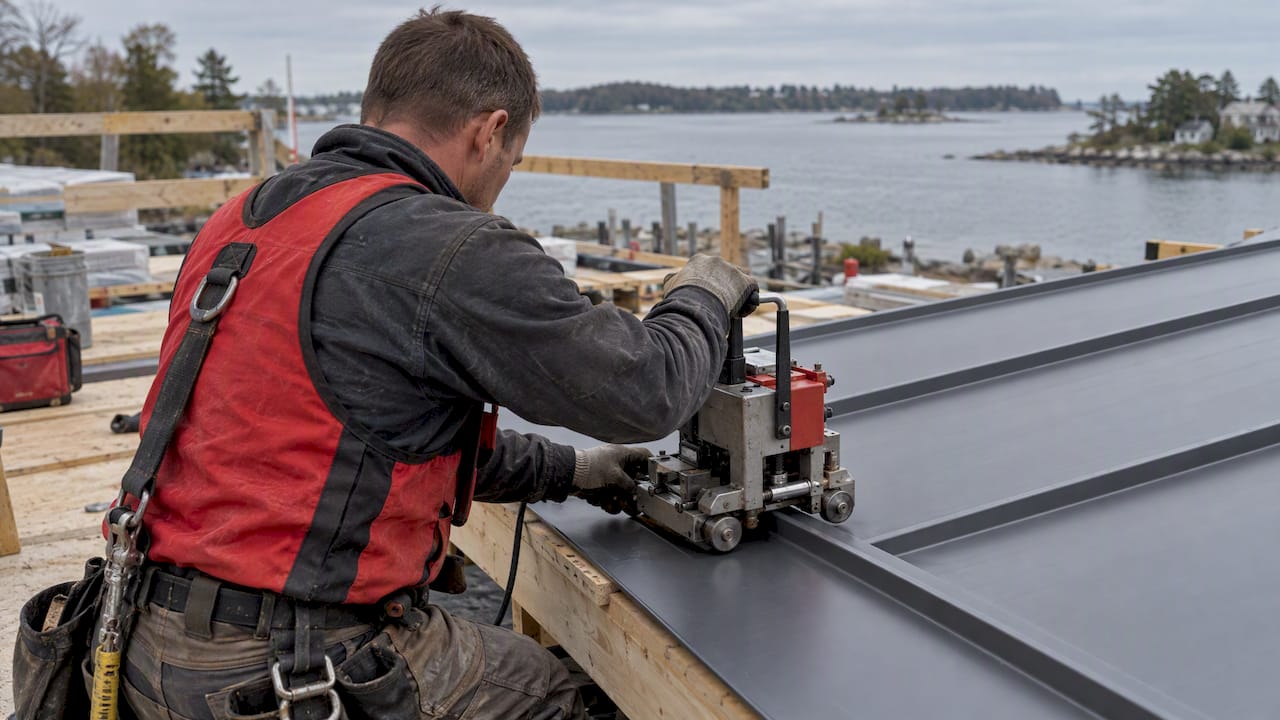
Clip choice matters as much as seam height. One-piece clips are simpler but offer no clip travel, while two-piece sliding clips allow the panel to expand and contract with temperature without stressing the seam. Our guide on sizing standing seam thermal clips walks through fixity decisions in more detail.
Before panels go on the roof:
- Confirm the seamer model and calibration match the panel manufacturer’s instructions for that exact profile.
- Verify clip type (one-piece vs. two-piece), clip travel allowance, and fixed-clip location on the drawings.
- Check clip spacing against the panel length and local wind/snow load, tightening spacing in high-load zones.
- Flag any panel run long enough to need a clip analysis or review from a registered design professional.
Pro Tip: Never assume a seamer from one panel line works on another; mismatched tooling is one of the most common causes of field rework on mechanically seamed roofs.
Aesthetic and building-type guidance: matching seam height to design context
Seam height is as much a design decision as a performance one. Historic renovations and fine-scaled residential roofs generally look better with 1-inch or 1.5-inch seams, which echo the tighter rib spacing of older standing-seam work and avoid overpowering smaller rooflines.
Contemporary commercial and institutional projects often call for 2-inch or taller seams, especially when paired with wider panels where a bolder shadow line reads intentional rather than busy. The same seam height can look completely different depending on panel width, so it helps to:
- Pair narrow panels (12"-16") with 1 to 1.5-inch seams for a traditional, tightly ribbed look.
- Pair wider panels (18"-24") with 1.5 to 2-inch seams when a bolder architectural statement is the goal.
- Bring physical samples or mockups to design review boards rather than relying on drawings alone, since seam scale is hard to judge on paper.
Choosing a seam height for common job conditions
Job conditions should drive the seam type and height before aesthetics do. On low-slope roofs, favor mechanically seamed systems with taller profiles to manage standing water, and always confirm the manufacturer’s stated minimum slope before specifying snap-lock in that range.
In heavy snow or other high live-load zones, mechanical seams with tighter clip spacing hold up better than snap-lock, and seam reinforcement or supplemental wind clamps are worth discussing with the manufacturer for exposed or valley conditions.
High-wind and coastal projects need tested assembly data more than they need a taller seam. A bigger profile does not automatically mean better uplift resistance; only the documented test for that specific clip, gauge, and spacing combination confirms it.
- Low slope: mechanical seam, taller profile, confirmed minimum slope from the manufacturer.
- Heavy snow/live load: mechanical seam, tighter clip spacing, consider reinforcement.
- High wind/coastal: verified tested assembly and uplift rating, not seam height alone.
- Any code-driven uncertainty: bring in an engineer and request the assembly test report before bidding.
Contractor technical checklist: specs and questions to confirm with the manufacturer
Before cutting a purchase order, confirm the following with your supplier or manufacturer so the installed roof matches the tested assembly on paper.
- Request the ASTM, UL, or FM assembly test report for the exact panel, clip, gauge, and attachment pattern you plan to install.
- Confirm the seamer model, tooling setup, and any hand-crimp finishing steps, then verify final seam dimension tolerances.
- Get clip part numbers, clip travel specification, fixed-clip location, and recommended spacing for each roof zone, detailed further in our clip spacing guidance for panels over 10 feet.
- Verify panel width limits, minimum slope, and whether sealant is factory-applied or field-applied.
- Schedule a shop review and delivery/cut-list check so panels arrive matched to the field layout.
Pro Tip: Build the cost of a tested assembly report and a short clip-analysis review into the bid early; it is cheaper than reworking a seam after the panels are already on the roof.
A practitioner’s perspective on seam height specification
The most common mistake we see in the field is treating seam height as the whole spec, then discovering midway through installation that the clip or seamer does not match what was ordered. A five-minute check against the manufacturer’s documentation before panels ship prevents most of that rework.
Cut-and-drop delivery and on-site roll forming both reduce that risk by matching the panel length, profile, and gauge to the field layout before installation starts. Review the technical checklist above and ask for the supporting assembly documents before you commit to a seam height.
— Matt Catino
How we help you get the right seam height installed right
We offer 1-inch mechanical lock and 1.5-inch snap lock standing seam panels in 24 and 26 gauge steel, and provide custom trim and flashing packages built to match. Cut-and-drop delivery brings job-ready panels straight to your site, and our on-site roll forming service handles the long runs and tight schedules that off-site fabrication cannot.
- Request panel specs and assembly test documentation for your exact seam height and gauge combination.
- Ask about on-site roll forming for long panel runs or difficult access sites.
- Get a cut-and-drop delivery quote matched to your cut list and field layout.
Check our standing seam metal roofing page for current profile options, or reach out directly for a fabrication and delivery quote.
FAQ
What is the correct length of a seam?
Seam length refers to the full run of the panel from eave to ridge, which varies by roof design rather than by a fixed standard. Cut-and-drop and on-site roll forming both allow panels to be fabricated to the exact length a roof requires, reducing field seams and waste.
How tall is a standing seam?
Standing seams commonly run 1 inch, 1.5 inches, or 2 inches tall, equivalent to roughly 25mm, 38mm, and 50mm. The right height depends on seam type, clip design, and site conditions, not on height alone.
What is seam to seam length?
Seam to seam length usually means the panel width, the distance between one standing seam and the next, which commonly runs 12 to 24 inches depending on the profile. Narrower widths produce a tighter rib pattern, while wider panels space seams farther apart for a bolder look.
Should I choose snap-lock or mechanically seamed panels?
Mechanically seamed systems typically offer better weather-tightness for low-slope and severe-weather projects, while snap-lock installs faster and suits standard-slope residential and light commercial work. Confirm the manufacturer’s minimum slope requirement before choosing between the two.
How do I avoid rework related to seam height or clip mismatch?
Confirm the seamer tooling, clip part numbers, and clip spacing against the manufacturer’s documentation before panels arrive on site. Our mechanical lock standing seam article details the spec items that most often cause mismatches.
Sources
- Roof seaming best-practices (Metal Construction Association)
- Snap lock vs mechanically seamed (SFS learn-more article)